WHCK微軟硬體品質實驗室WHQL測試認證 - 實際測試篇 (NVMe Controller)
WHCK Client是直接透過區域網路從Client端 (待測端) 連線到Server端進行安裝,這一次我要示範是 PCIe NVMe Controller WHCK測試,在這裡provide client端 (待測端) detail的SOP。
(商標說明) 本篇部落格文章所有引用的商標, 圖片, 擷取圖像以及產品名稱分屬各公司所有,本部落格僅引用純屬介紹之用,無任何侵犯版權之意。
Step.1 請各位讀者們Base-on WHCK裡面的規範,先準備好待側端,這一次我是以NVMe Controller為範例,要請特別注意: Client端 (待測端) 的OS最好是使用Windows 2016以上,測試前請在Command Prompt先鍵入 powercfg -h on,以避免在測 Power Cycle 的時候會Failed.
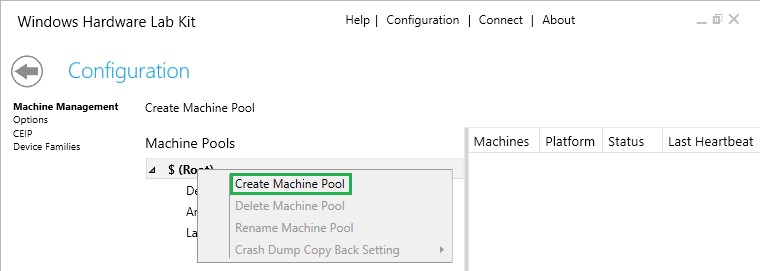
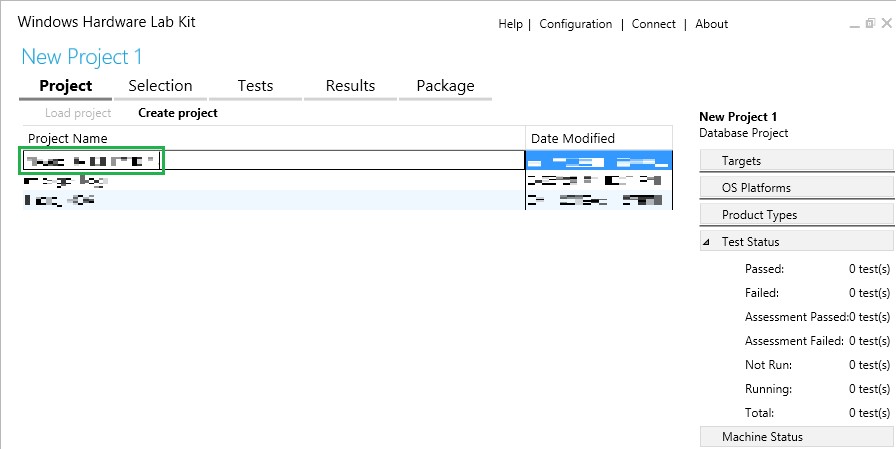
Step.2 回到HCK Server端,進入HCK主畫面,先在 Configuration Create 一個 Project,在點選 Create Machine Pool。

Step.3 點選你剛剛 Create 的 Machine Pool (NVMe_Test),尋找client端(待測端)的電腦名稱 (在本範例為WIN-UIGI3VKR30I)。

Step.4 點選 Status 底下的 Not Ready,將client端(待測端)的Status變更為Ready。(滑鼠按右鍵 → 'Change Machine Status' → 'Ready')

Step.5 用滑鼠點選剛剛 Created 的 Project。
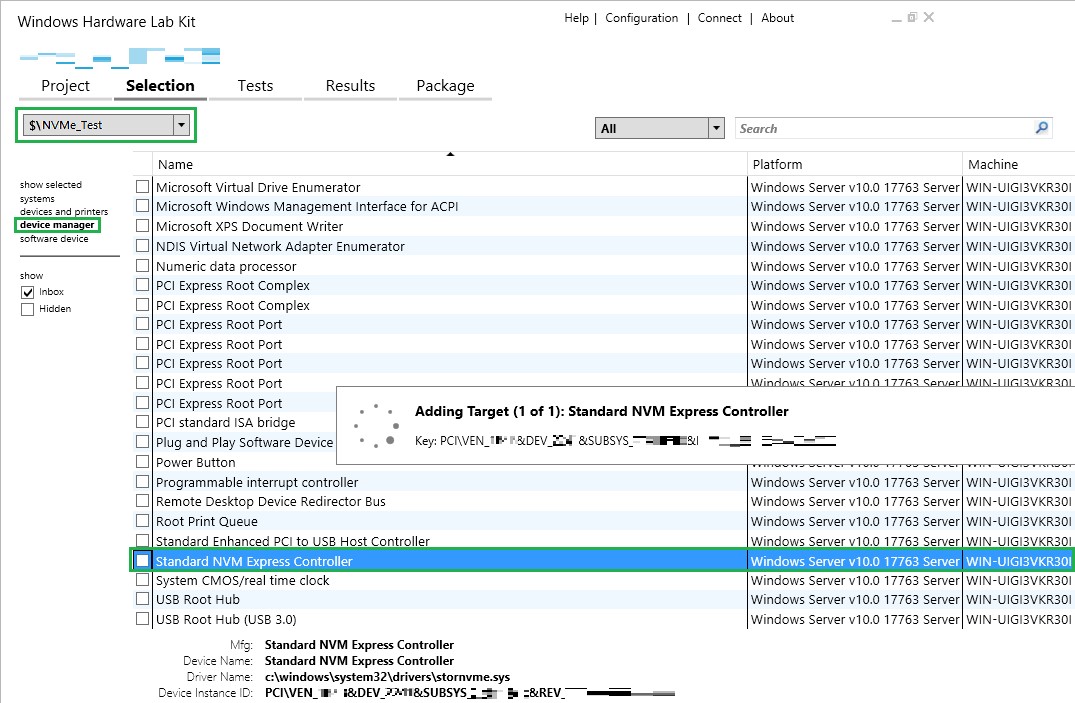
Step.6 用滑鼠點選 'Selection' 並選擇您剛剛Created的Pool。

Step.7 點選您想要測試的device。(在這裡我選擇 'device manager' 內的 'Standard NVMe Express Controller' 做為我的WHCK測試)
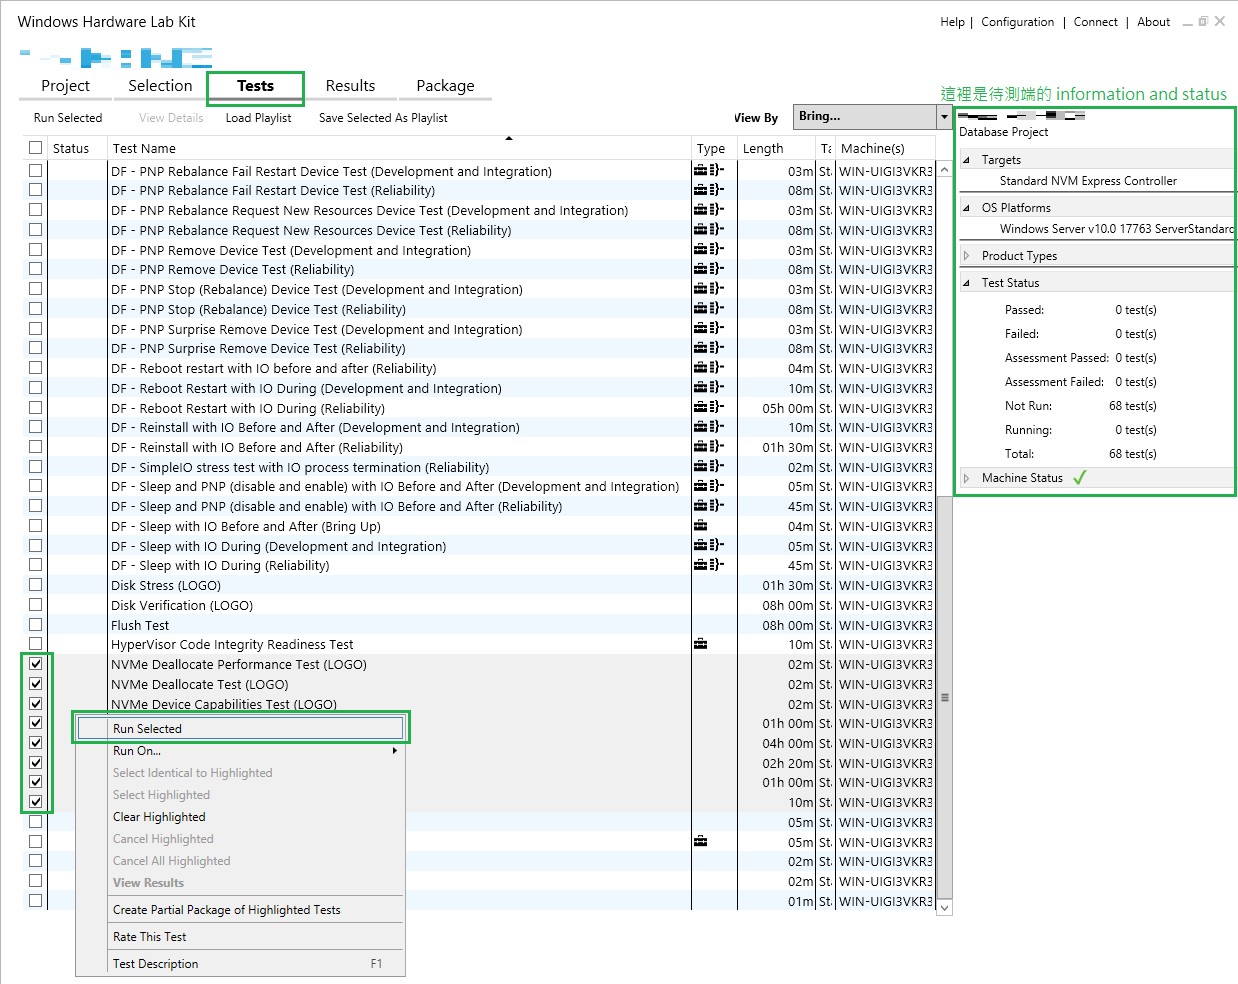
Step.8 用滑鼠點選 'Tests' 並選擇您要測試的option,並按下滑鼠右鍵 'Run Selected' 開始執行測試,而在畫面的最右端則是測試端的information與status。
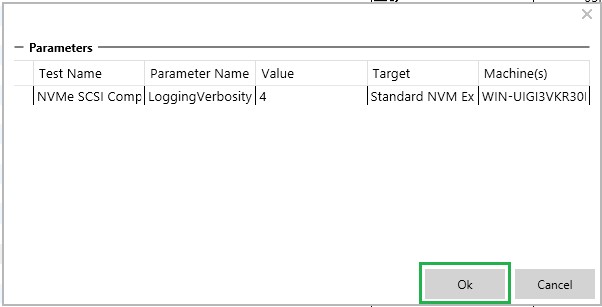
Step.9 不同測試的option,也會有不同測試的Pararmeters,按OK 就可以開始執行HCK的測試。
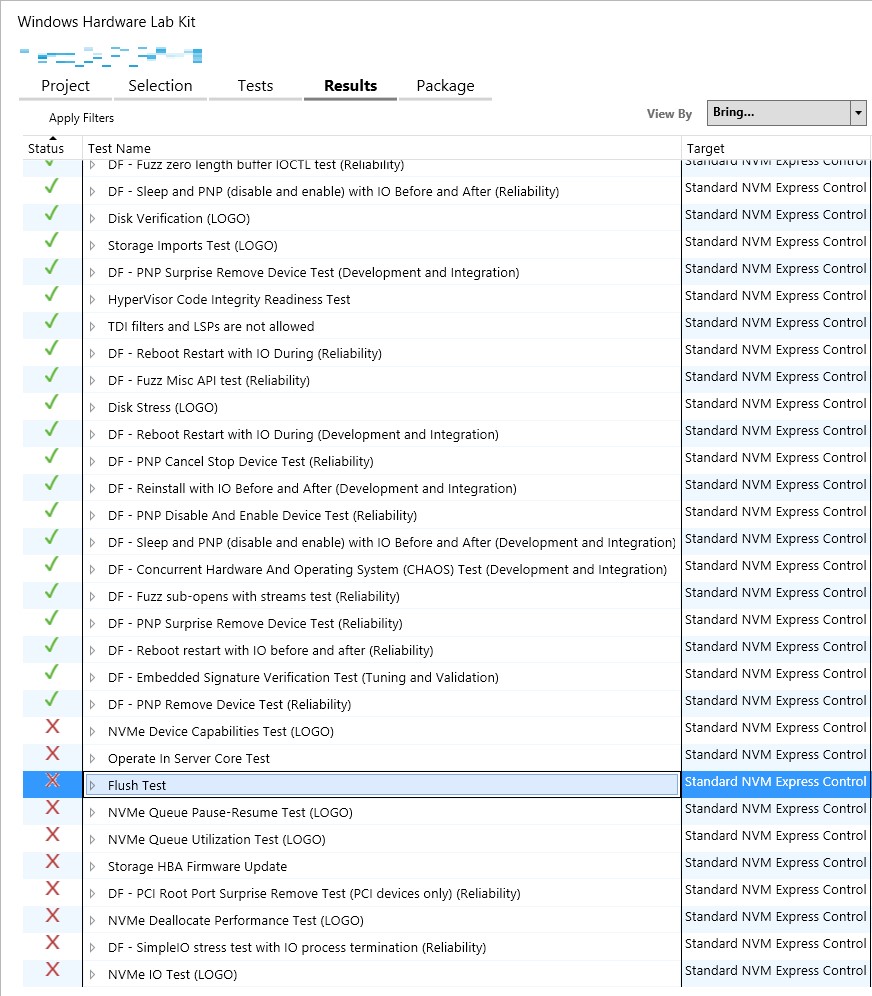
Step.10 測試的results如果有遇到failed的item,您可以直接點選Logs去check tests log。(在此聲明: 這裡只是示範WHCK的測試流程,並不代表product的quality)
